Easy Installation Tips for Shower Curtains and Rings
|
|
Tiempo de lectura 2 min


|
|
Tiempo de lectura 2 min
Installing a shower curtain and its accompanying rings may seem straightforward, yet attention to detail can transform this task into an opportunity for creating a polished, functional space. In 2025, with designs emphasizing durability and grace, proper setup ensures longevity and aesthetic harmony.
This guide offers practical advice to achieve an effortless installation, suitable for various bathroom configurations.
Begin by measuring your shower area accurately—standard curtains are often 180x200 cm, but confirm the rod length matches, typically 150-200 cm for full coverage. Gather rustproof rings or hooks, a tension or fixed rod, and any liners if desired. Clear the area of moisture and ensure the rod placement is level, using a spirit level for precision.
Choose materials that align with your design: Stainless steel rings offer enduring strength, while fabric curtains provide a soft drape. This preparation sets the foundation for a refined result.
First, assemble the rod: For tension types, extend it to fit snugly between walls, positioning it about 200 cm from the floor for height illusion. Secure fixed rods with brackets, drilling into tiles if necessary—use anchors for stability.
Attach rings to the curtain by sliding them through reinforced holes, spacing evenly for balanced weight distribution. Hang the curtain, ensuring the hem falls just above the tub edge to prevent pooling. Adjust for evenness, creating a clean silhouette.
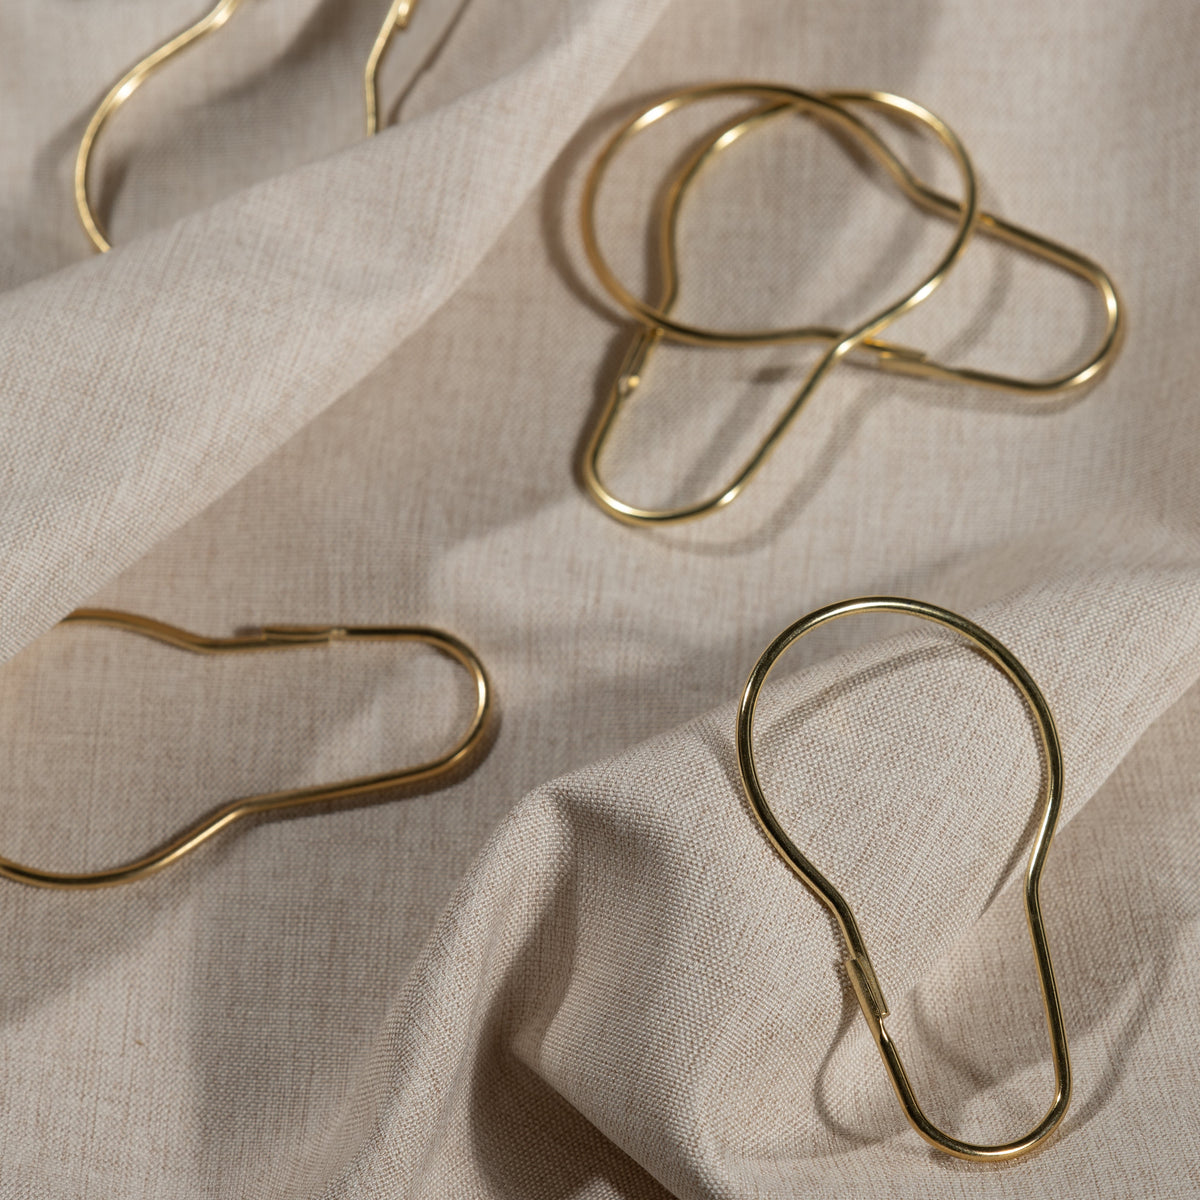
Rings should glide smoothly; opt for those with ball bearings for ease. Hooks provide a decorative touch, clipping directly onto the rod. Install by opening the ring or hook, threading through the curtain, and closing securely. For 12 rings on a 180 cm width, this ensures proper support without sagging.
In humid environments, rustproof options maintain their appearance over time.
If the curtain bunches, add more rings for better distribution. For uneven walls, adjustable rods compensate. Testing the setup with a gentle tug confirms stability.
This process not only secures functionality but also enhances the bathroom's overall composure.
Position the rod at approximately 200 cm from the floor to elongate the space and allow for a graceful fall without dragging.
Typically 12 rings provide even support, preventing sagging and ensuring smooth operation.
Yes, high-quality tension rods rated for up to 10 kg work well; for added security, consider fixed installations.
Use adjustable tension rods or shims with brackets to achieve a level fit, maintaining stability.
Author: Elena Voss
I'm a design writer with a passion for Scandinavian style and sustainability. I draw on 10+ years of interior design experience to explore how we create mindful, beautiful homes.


